Level Up Your Mobile Photography Skills
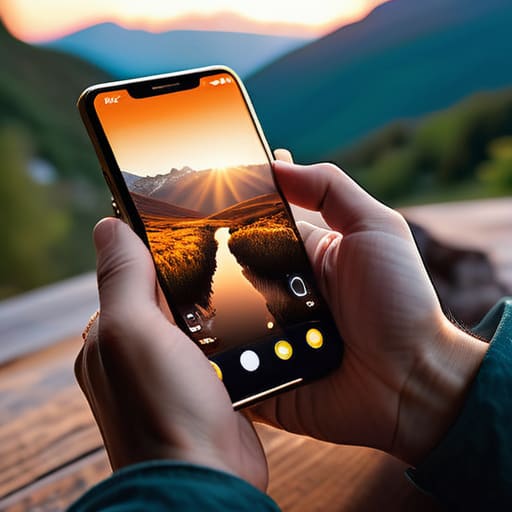
I used to think that if I wanted decent pictures, I needed to go out and buy a bulky DSLR, spend hours learning manual settings, and carry around a bag of lenses that felt like a workout. It’s such a common myth that you need expensive gear to capture a decent memory, but honestly, that’s just a recipe for unnecessary friction. Most of the time, I’m just trying to snap a quick shot of my new monstera leaf or a decent meal before it gets cold, and I don’t have the mental bandwidth for a full-blown production. I realized that learning how to take better phone photos isn’t about mastering complex professional techniques; it’s about making a few small, sensible adjustments to what you’re already doing with the device in your pocket.
In this guide, I’m skipping the technical jargon and the “perfect aesthetic” nonsense. Instead, I’m sharing the low-effort habits I’ve actually used to make my daily snapshots look intentional rather than accidental. My goal isn’t to turn you into a professional photographer, but to help you get better results with the least amount of stress possible.
The Lazy Guide to Smartphone Camera Composition Rules
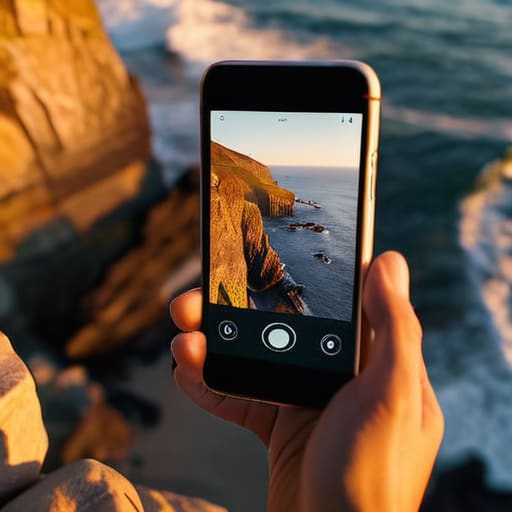
Look, I’m not going to ask you to study art history or carry around a tripod. If you’re like me, you just want the photo to look decent so you can get back to whatever you were doing. The easiest way to start is by ignoring the center of the screen. Most of us instinctively point our phones right at the subject, but that usually results in a boring, static shot. Instead, try leaning into some basic smartphone camera composition rules, specifically the rule of thirds. If you turn on the grid lines in your settings, you can line up your subject along those intersections. It instantly makes the image feel more intentional and less like a random snapshot.
Another trick that takes zero extra effort is playing with your perspective. Instead of standing there like a tourist, try crouching down low or tilting your phone slightly. It adds a sense of depth that makes a flat image feel more three-dimensional. Also, if you’re struggling with a cluttered background, don’t sweat the heavy editing; just use your portrait mode settings guide to blur out the mess behind your subject. It’s a low-effort way to make a chaotic scene look professional without needing a degree in photography.
Improving Smartphone Image Quality With Simple Lens Cleaning
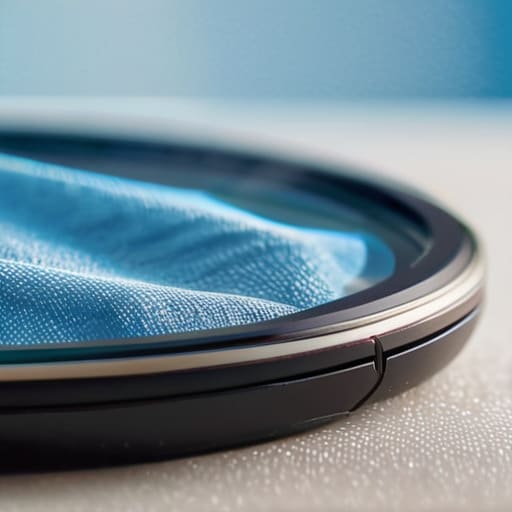
This sounds incredibly basic, I know, but it’s easily the biggest reason why your shots look “meh.” We carry our phones everywhere—in pockets, shoved into bags, or resting on messy kitchen counters. By the time you pull it out to capture a moment, that tiny piece of glass is likely covered in a thin, oily film of fingerprints and dust. This creates that hazy, washed-out look that makes even the most expensive device look cheap. If you want a quick win for improving smartphone image quality, stop scrolling through tutorials and just grab a clean microfiber cloth.
I used to think I needed to master complex mobile photography lighting techniques to fix my blurry, low-contrast photos, but usually, the culprit was just a smudge. I’ve started making it a habit to give my lens a quick wipe before every single photo session, much like I’d clean my mechanical keyboard switches. It takes exactly three seconds, but the difference in clarity is night and day. It’s one of those tiny, low-effort habits that actually pays off when you’re trying to capture something clearly without a massive setup.
Five Tiny Tweaks for Better Shots (Without the Effort)
- Tap the screen where you want the focus to be. Most people just point and shoot, but tapping the specific subject—like a coffee cup or a friend’s face—tells your phone exactly what matters, and it usually helps balance the lighting too.
- Stop using digital zoom. I know it’s tempting to pinch-to-zoom when you’re across the room, but it just turns your photo into a grainy mess. If you can, just walk a few steps closer; your sensor will thank you.
- Use the volume button to snap the photo. Holding a phone out for a selfie or trying to hit a tiny on-screen button often leads to shaky, blurry shots. Using the physical volume button on the side feels more like a real camera and keeps things steady.
- Find the light, don’t fight it. You don’t need fancy studio lamps; just look for a window or a lamp that isn’t directly behind your subject. If the light is coming from behind them, they’ll just end up as a dark silhouette, which is hard to fix later.
- Turn on your grid lines in settings. I used to think they were for professionals, but they’re actually a lifesaver for making sure your horizon isn’t crooked. It takes two seconds to set up and prevents that “tilted” feeling in your photos.
The Bottom Line
Stop overthinking the settings; just keep your lens clean and look for natural light to do most of the heavy lifting for you.
Use basic composition rules like the rule of thirds as a loose guide rather than a strict law to keep your shots looking intentional but not stiff.
Focus on capturing the feeling of the moment rather than technical perfection—the best photos are the ones that don’t feel like a chore to take.
Less Effort, Better Memories
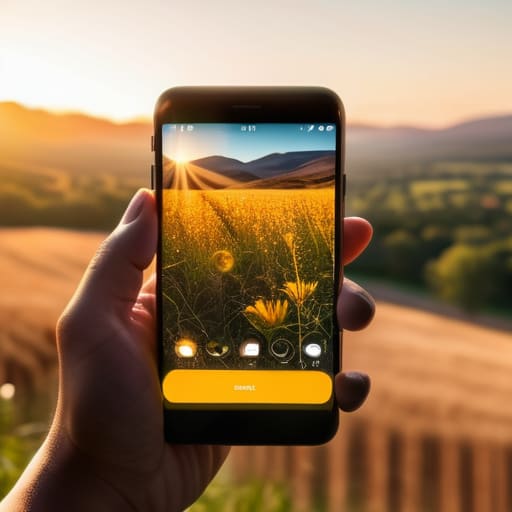
At the end of the day, you don’t need a professional-grade DSLR or a degree in photography to take photos you actually want to look back on. It really just comes down to a few low-friction habits: keeping your lens clear of those annoying fingerprints, playing around with basic composition like the rule of thirds, and hunting for natural light whenever you can. You don’t need to spend twenty minutes setting up a shot; you just need to stop overthinking it and start noticing the small details around you. These are the kind of tiny, repeatable wins that turn a blurry, accidental snapshot into a photo that actually feels intentional.
My biggest piece of advice is to remember that the goal isn’t to produce a masterpiece for an art gallery; it’s to capture a moment so you can revisit it later. If you’re too tired to worry about perfect lighting or the exact angle, just take the photo anyway. Perfection is the enemy of actually enjoying your life, and your memories are more important than a flawless aesthetic. Focus on the feeling of the moment rather than the technicality of the image. Once you stop trying so hard to be a photographer, you’ll find that you’re actually much better at being a person who captures life as it happens.
Frequently Asked Questions
Do I actually need to buy any extra apps, or can I just stick to my default camera settings?
Honestly? Save your money. You don’t need a subscription to a “pro” editing app to get decent shots. Most of the heavy lifting is already built into your default settings—just learn how to use the exposure slider and the native editing tools. If you’re feeling ambitious later, maybe grab a free app like Snapseed for fine-tuning, but for daily life, your phone’s standard software is more than enough. Keep it simple.
How do I handle tricky lighting, like when I'm at a dim restaurant or dealing with harsh midday sun?
Lighting is usually where my photos go from “great” to “grainy mess.” When you’re at a dim restaurant, stop using the flash—it just flattens everything. Instead, tap your screen on the brightest part of the table to adjust the exposure manually. For that brutal midday sun, look for “open shade”—like under an awning or a tree. It softens the shadows so you aren’t stuck with weird, dark eye circles.
Is there a way to edit these photos quickly without spending an hour on them?
Honestly, the last thing I want to do after a long day is sit there fiddling with complex sliders in Lightroom. If you want quick results, stick to the “Auto” button first—it’s surprisingly decent for basic lighting fixes. From there, I usually just nudge the “Warmth” or “Brilliance” slightly to give it some life. Don’t overthink it; if it looks good to your eye, stop there and move on.


I believe that life doesn't need to be optimized to perfection, just made slightly more manageable. My goal is to help you find systems that actually work when you're tired, not just when you're motivated. Let's focus on small, repeatable wins that clear the path for what actually matters.